
Hi foxys! Since we are staing home this period and the summer is near the corner I though that it would be nice to have a summer kimono. It is so easy to make and it is very nice and sexy 🙂 Let’s get cracking!
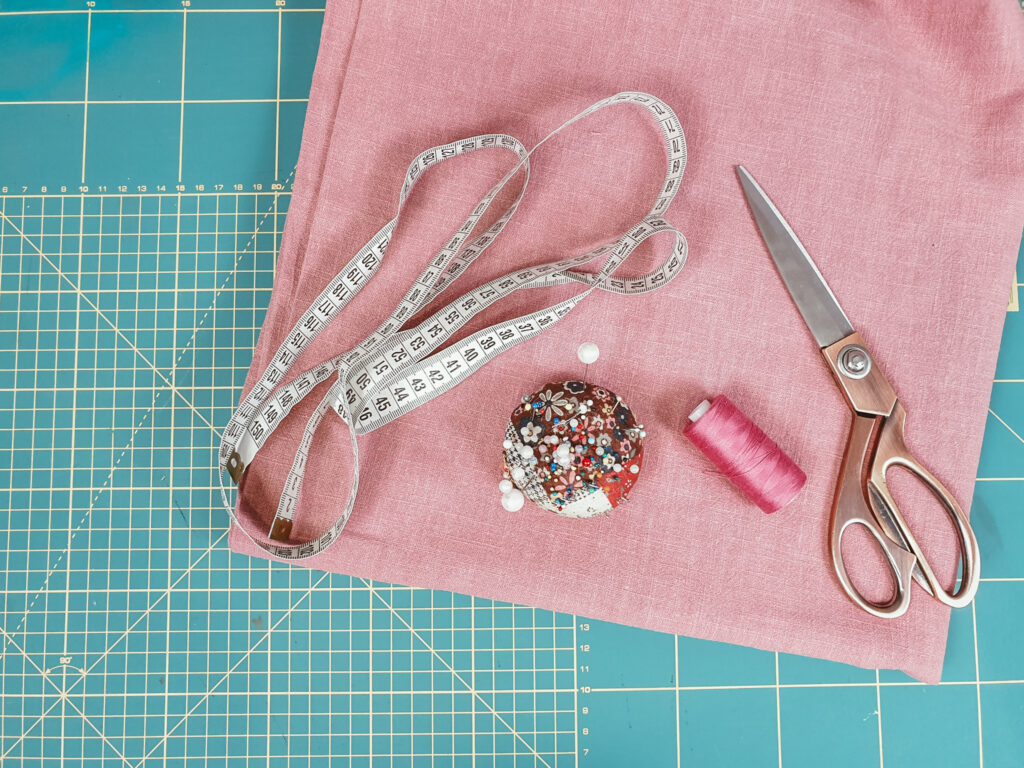
What you’ll need is:
- 2 meters of fabric (I used linen)
- thread
- pins
- scissor
- ruler
- sewing machine
If you don’t have the fabric but you want to do the kimono I prepared for you a kit with fabric, thread, pins and ruler. You can buy it from here https://thems.ro/produs/kit-diy-summer-kimono/ This way you will support DIY community and me.
Here is the pattern

The pattern is for size M , if you want it to be smaller just make the front and the back smaller. Also the length is up to you. I made mine 86 cm long, if you want to be longer you will have to use 2.5- 3 meters of fabric, depending on how long you’ll make it.
The waistband you can do it as long as you want or the fabric allows you.
Because of the round shape of the front piece the front band may be a slight longer than the length of the kimono. Before cutting the fabric measure the total length after you have sewed the front and the back (see step 2)
Let’s get sewing!
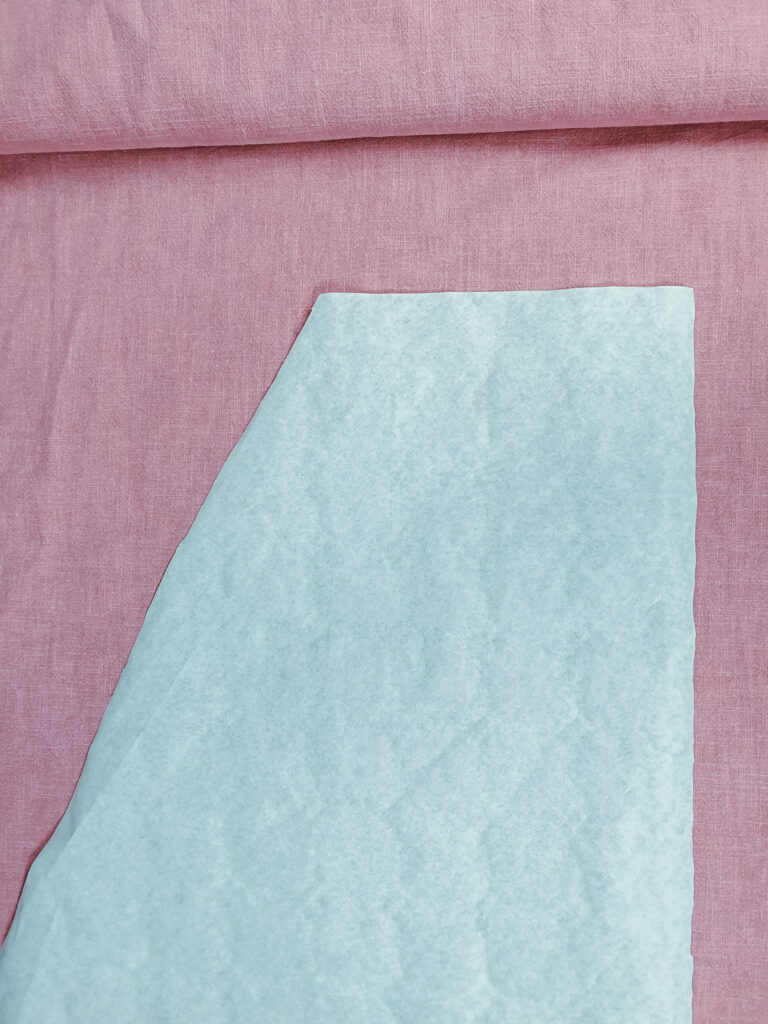
Step 1
Begin by tracing your patterns to your fabric, then cut the panels out.
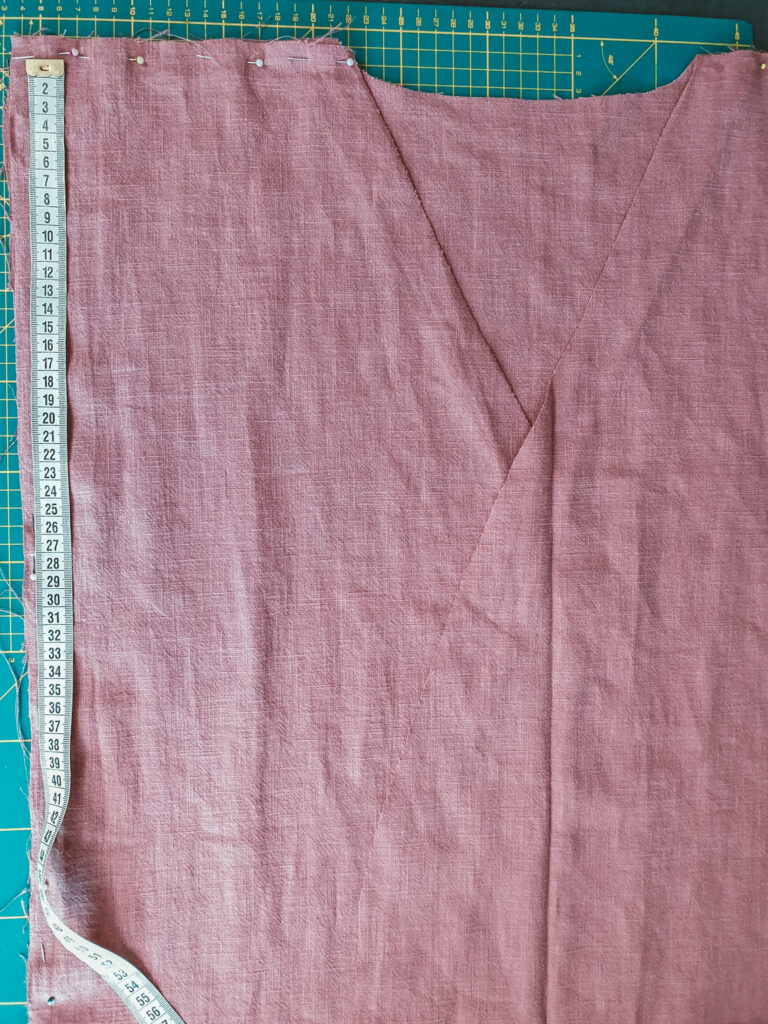
Step 2
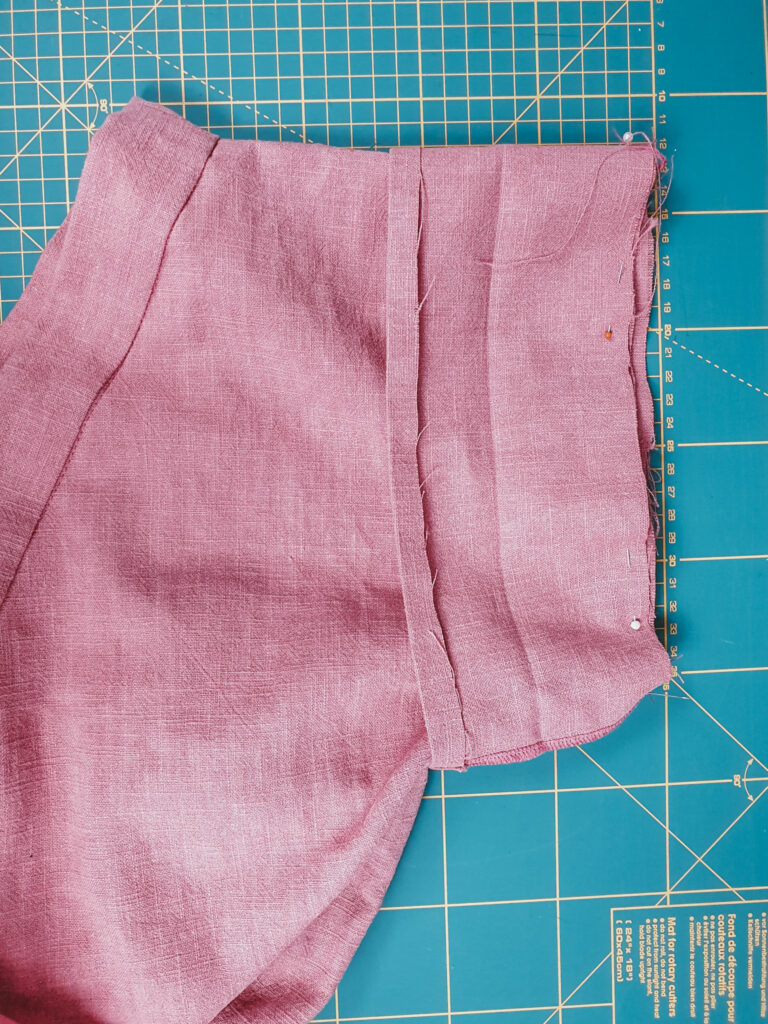
Place the right sides of the back and front together. Sew the shoulders and the parts. Don’t forget to leave the opening for the sleeve as is marked on the pattern. Leave 1 cm at the shoulder for sewing and go down the side and mark at 25 cm from where you can begin sewing the side.
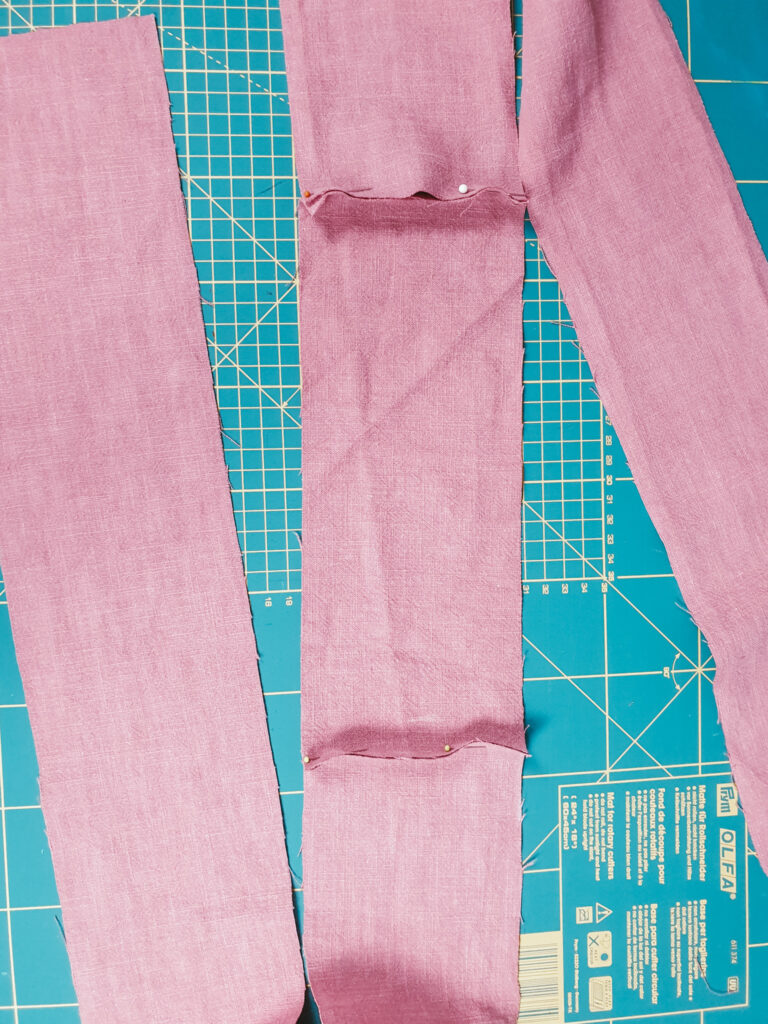
Step 3
Pin and sew the back neck band with the front band pieces together.
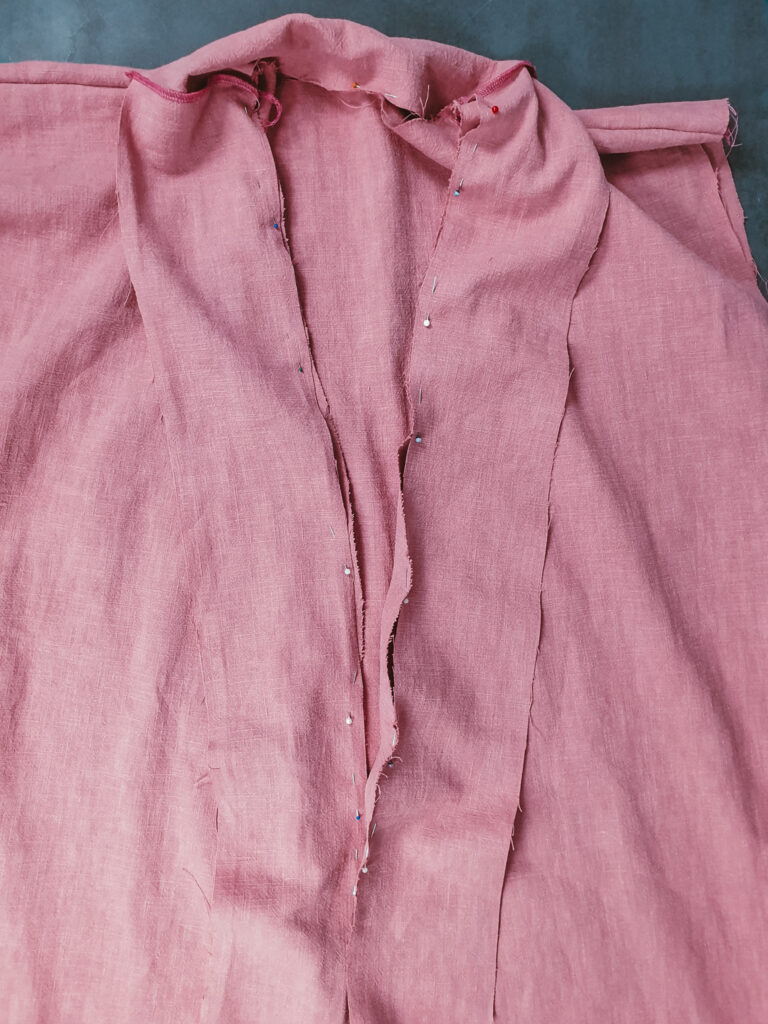
Step 4
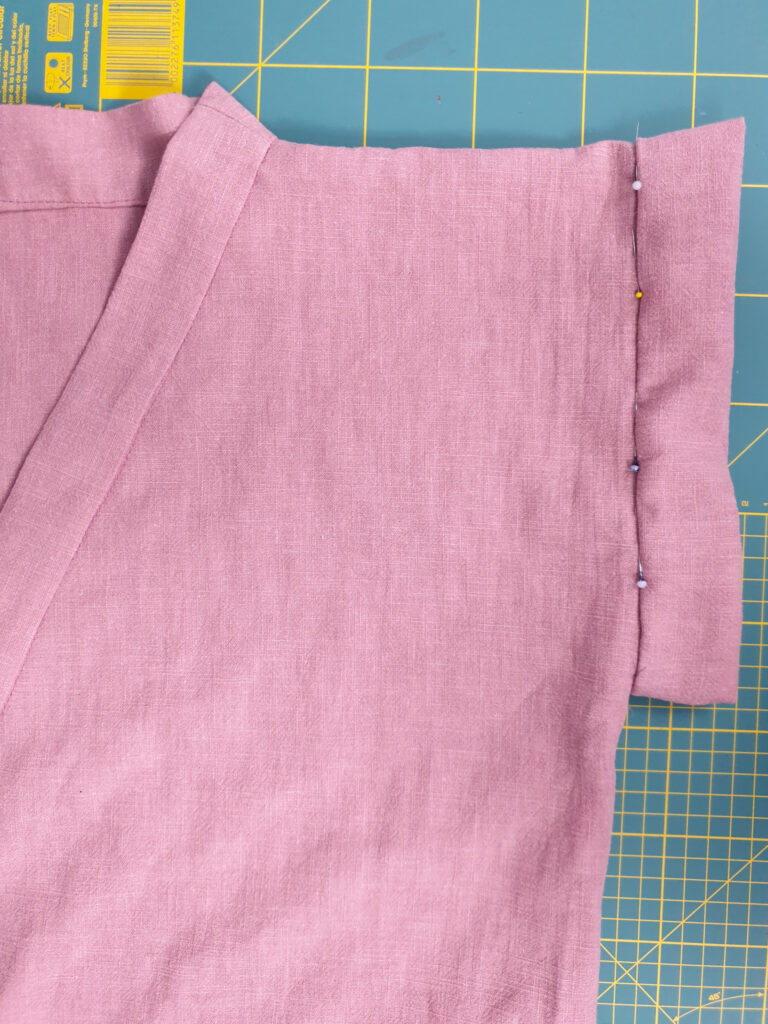
Pin in place the right side of the collar band you just sewed with the right side of the kimono and sew.
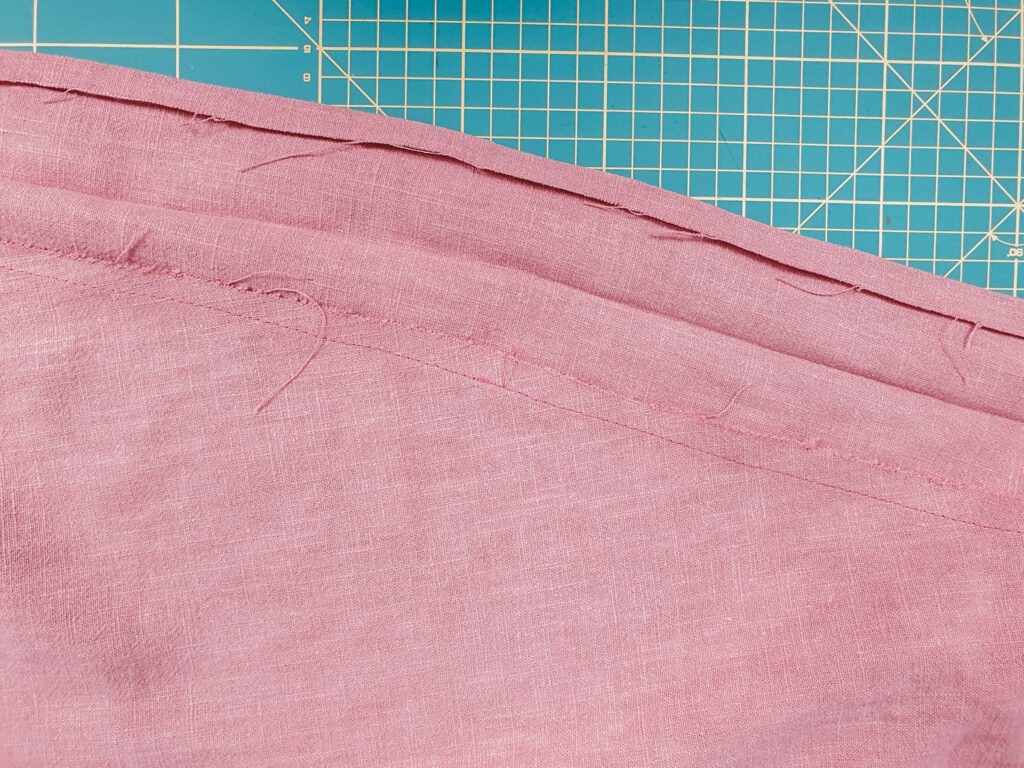
Step 5
Along the edge of the collar fold the 1 cm seam allowance and iron. Then fold the collar in half and iron. Make sure that you pass over the seam.
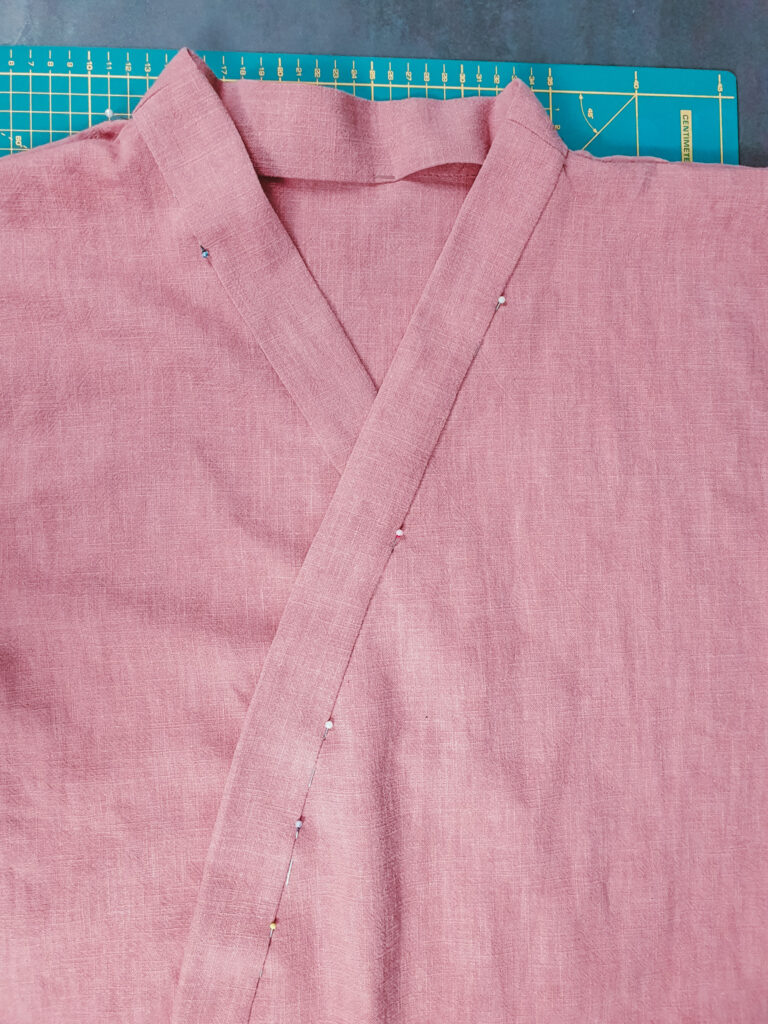
Step 6
Fold the collar and pin on the right side of the kimono and sew close to the edge. It will be nice and neat on the front and on the back as well.
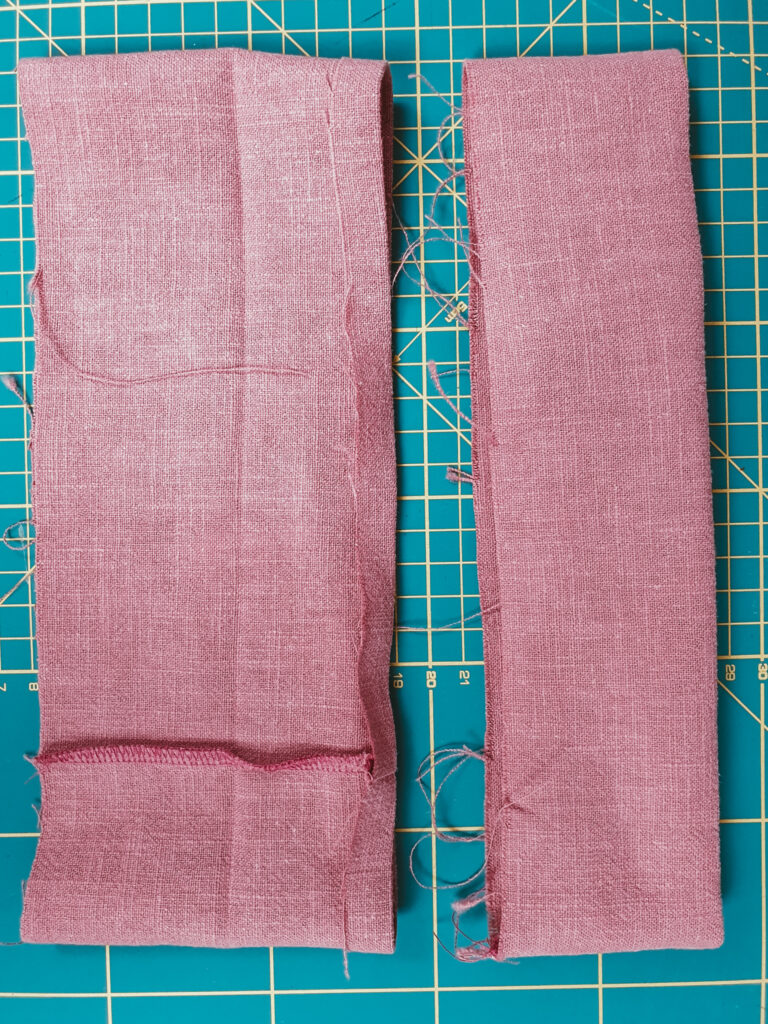
Step 7
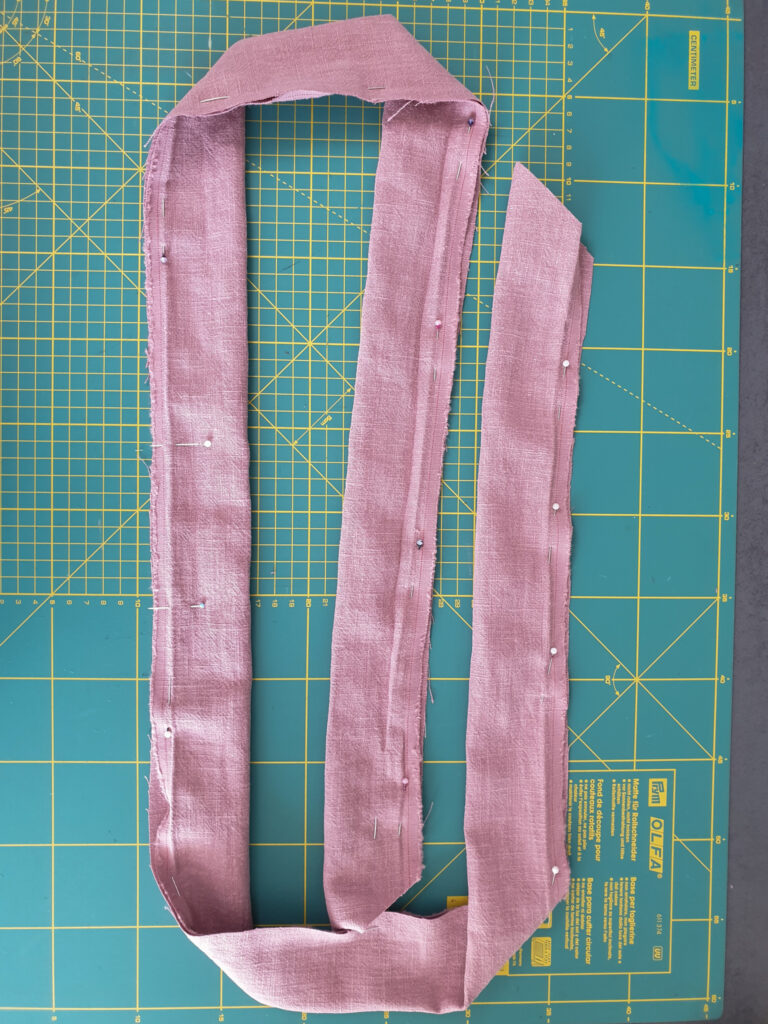
Place the right sides together of the sleeve band and sew the end so you have a nice loop. Fold it wrong sides together and iron. Then opened it up and fold 1 cm seam allowance and iron
Step 8
Place the right sides together of the sleeve band with the right side of the kimono, pin and sew. Make sure you are sewing the raw edge that you didn’t fold.
Step 9
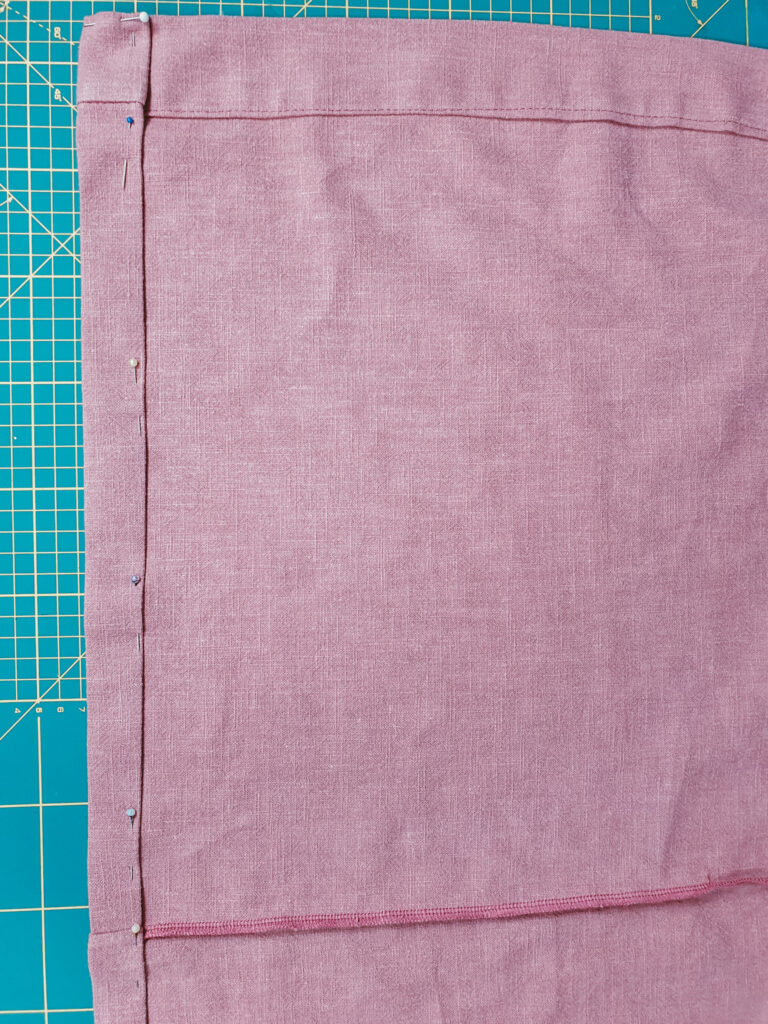
Like you did at the collar, fold the sleeve band and pin on the right side of the kimono and sew close to the edge.
Step 10
Finish the kimono with a hem. You can double fold the raw edge so it is nice and clean, or you can serge the raw edge and fold 1 cm.
Step 11
Before pining the waistband place a safety pin at each end of the band on the right side. Fold the band right sides together and pin along the length. Make sure that at the middle of the waistband you leave an opening for about 5 cm. Sew the ends and along the length. Now push the safety pin towards the opening so that you turn the waistband right side. Sew by hand the opening.